Guided surgery · Guide · UK 2026
From CBCT scan to guided implant: one case, start to finish
I have spent 25 years in dental, and I still meet dentists who think guided implant surgery is something for full-arch cases and university departments. This case from Dr Mathieu Rousset is a good answer to that. It is a single implant in a general sort of situation, and it shows how much easier the job gets when every step is connected.
The problem
The patient was missing the upper left first premolar and the upper right lateral incisor from birth. Orthodontic treatment had dealt with the spacing, but the lateral incisor site had been left unrestored, and over time the upper left canine (UL3) had drifted well out of position.
The plan was to extract the UL3 and place an implant straight away in the same site. That sort of case leaves little room for error. If the angle or position is out by a couple of millimetres, the crown either looks wrong, works badly, or both. So the implant position had to be driven by where the final crown needed to be, not just by where the bone was easiest to drill.
The workflow
Mathieu ran it fully digitally, in six steps:
- Intraoral scan. This captured the teeth and soft tissue and gave the software its prosthetic reference: where the crown needs to sit.
- CBCT scan on a Carestream CS 8100 3D. The scan confirmed root resorption on the UL3, which supported the decision to extract, and gave the bone volume for planning.
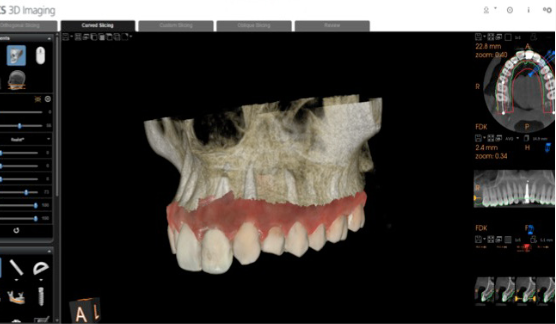
- Prosthetic-driven planning in CS 3D Imaging. The software merged the CBCT and the intraoral scan automatically, so bone and soft tissue sat in one view. The implant was then placed crown-down: the ideal restoration decided the implant axis.
- Guide design in SMOP. The whole plan moved across from CS 3D Imaging to SMOP in one click, with no reloading, re-aligning or re-planning. The SMOP service centre designed and 3D-printed the guide and sent it back with a Thommen Medical sleeve. The guide only partly covers the neighbouring teeth, which leaves the site visible and makes cooling and instrument access easier.
- Guided surgery. On the day, the UL3 came out, the tooth-supported guide was seated and checked, and the osteotomy followed the guided path. A Thommen ELEMENT RC implant, 4.0 mm by 11 mm, went in. The final 3D position matched the plan.
- Immediate temporary crown. A VARIOtemp abutment and a screw-retained temporary crown, designed by the lab and milled before the appointment, were fitted straight away. A tunnelling technique with a collagen membrane and hydroxyapatite graft was used to encourage bone regeneration and keep the papillae. The patient left with a fixed tooth on day one.
What I take from it
The part I like most is step 4. Moving data between planning and guide software has always been where guided workflows fall over. I have watched people spend longer lining up scans than the surgery took. Here it was one click.
The second point is that this was one implant. If you already take CBCTs and intraoral scans, you are closer to guided surgery than you might think.
The third is that it all starts with a CBCT that someone has read properly. The scan confirmed the resorption that justified the extraction. Good planning depends on good interpretation.
You can see the full case, with Mathieu's images at every stage, here: CBCT guided implant surgery workflow.
If you are weighing up which CBCT suits your practice and the work you want to do, I have put together a guide: Which CBCT?
Thank you to Dr Mathieu Rousset for sharing this case.
Pete